
ANATOMY OF STRENGTH TRAINING
A Course by Dr. Tony Boutagy
Understand What
You're Really Training
Most coaches and lifters skip the fundamentals and end up guessing
at what they're really training.
This course bridges that gap — giving you clarity on muscle function, movement mechanics, and joint actions so every exercise and cue has purpose.
Evidence-based education, trusted by 50,000+ coaches and lifters.
WHO THIS COURSE IS FOR
 For Coaches
You've completed Cert 3 & 4, but anatomy still feels abstract.
You want to translate textbook diagrams into real-world movement so you can cue, coach, and correct with confidence — not guesswork.
 For Experienced Lifters & Fitness Enthusiasts
You're training hard but not seeing consistent results.
Understanding anatomy gives you the "why" behind every exercise — empowering you to adjust your form, avoid injury, and train smarter for the long term.
Learning Outcomes
WHAT YOU'LL LEARN
By the end of this course, you'll:
01

UNDERSTAND
How muscles and joints interact during major lifts
01
 UNDERSTAND
How muscles and joints interact during major lifts
02
 IDENTIFY
And correct common technique errors with precision
03
 BUILD
BUILD
A mental model of movement that strengthens all future training decisions
04
 APPLY
APPLY
Anatomy knowledge directly to program design and client assessment
02

IDENTIFY
And correct common technique errors with precision
03

BUILD
A mental model of movement that strengthens all future training decisions
04
APPLY
Anatomy knowledge directly to program design and client assessment
Curriculum
INSIDE THE COURSE
Module 01
The Foot: Foundations of Human Performance
Strength, control, and efficient movement all begin at the foot. This module shows you how foot mechanics affect the ankle, knee, hip, and spine and why correcting dysfunction here can dramatically improve technique, resilience, and results.
Module 02
The Hip: Strength, Stability & Integrated Function
The hip is the central link between foot mechanics and full-body movement, and when it’s weak or imbalanced, the effects show up everywhere — from gait to squatting to lower-back stress. In this module, you’ll learn how the deep rotators, abductors, and hip flexors work together with the foot to stabilise the femur and control force production.
Module 03
The Low Back: Stability, Force Transfer & Injury Prevention
Most people experience low-back pain because they compensate without realising it. This module teaches you how the spine actually works, how to spot the movement patterns that overload it, and how to build long-term resilience through evidence-based assessments and training strategies.
Module 04
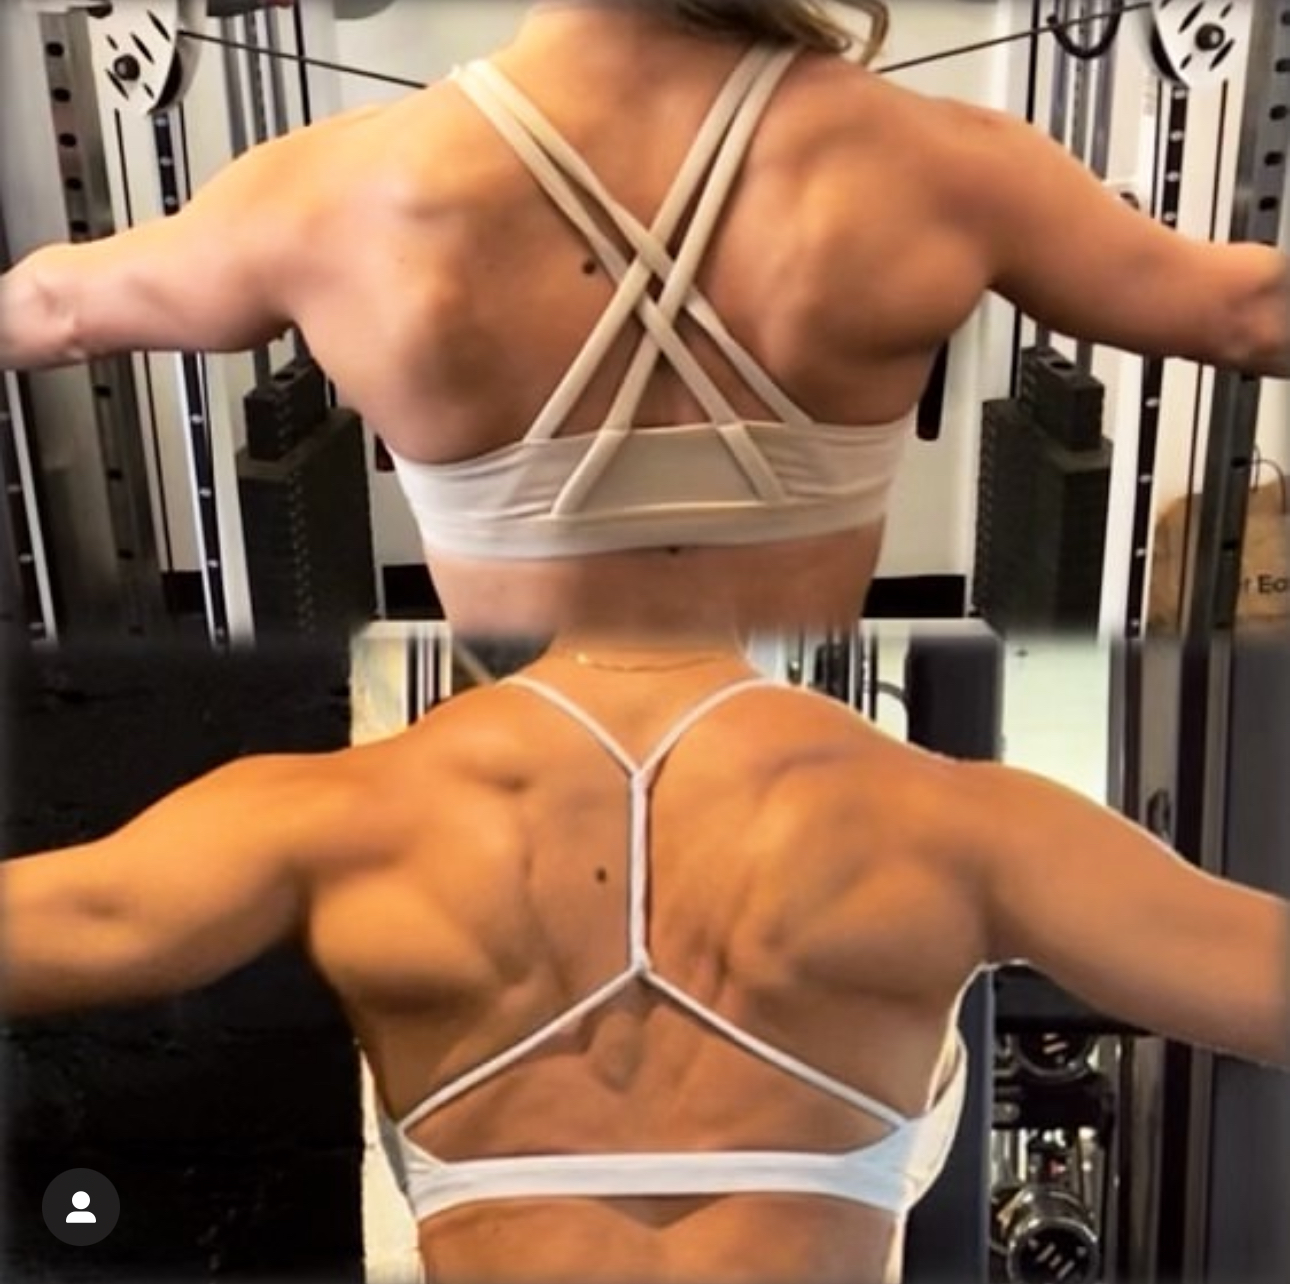
The Shoulder Girdle: Control, Stability & Pain-Free Strength
This module shows you how to identify common dysfunctions like upward-rotation faults, tilting, and winging — and how to restore smooth scapular-humeral rhythm for stronger pressing, safer overhead work, and pain-free training.
Module 05
The Elbow, Wrist & Hand: Strengthening the Upper-Body Support System
Your hands and forearms are the upper body’s primary force-transfer system and one of the most common sources of pain and performance breakdown. In this module, you’ll learn how wrist mechanics, grip strength, elbow alignment, and shoulder stability work together to prevent tendinopathy and improve strength across every pressing, pulling, and carrying movement.
Module 06
Breathing Mechanics & Dysfunctional Patterns
Most clients develop dysfunctional breathing patterns without realising it — patterns that quietly affect stability, posture, shoulder mechanics, and overall performance. This module shows you how to identify dysfunctional breathing, understand the underlying physiology, and apply simple, evidence-based retraining methods that improve movement quality, recovery, and strength.
Module 07 - Bonus lesson
Cardiovascular Training for Strength & Conditioning
Building an aerobic base is one of the most effective ways to improve strength training results, yet it’s often overlooked. In this module, you’ll learn how Zone 2 training, micro-intervals, and cardiovascular physiology enhance recovery, increase training volume, and build the work capacity needed for long-term progress.
Why It Matters
BEYOND MEMORIZATION
This course isn't about memorising muscles — it's about understanding movement.
Whether you're coaching others or training yourself, this knowledge becomes the foundation for everything that follows:
strength, fat loss, performance, and longevity.


Before you can improve performance, you must understand the system
you're training.
— Tony Boutagy, PhD
Student Feedback
WHAT STUDENTS SAY
Build Your Foundation in Strength Training
Join thousands of coaches and lifters who've mastered the
fundamentals of anatomy and movement.
Grounded in hundreds of peer-reviewed studies and three decades of coaching.

Boutagy Fitness Institute
Leading education in health, fitness, and
coaching excellence.
Quick Links
Legal
Contact
© Copyright 2026. Boutagy Fitness. All Rights Reserved.